In angular we can create two types of forms 1. Reactive form 2.template based form
- In Reactive form : all the codes handle in type script , no need to use ngModel to get and set value in control. we define form and formcontrolname for each control , and through formControl we get and set value .reactive form code is neat and clean when we have more complex structure or validation we should use reactive form .will see more detail .
- Template driven : data binding is done via ngModel ,generally we can use this approach for simple form ,in this approach code became messy and very difficult to manage . Also in this approch difficult to handle all validation ,need more coding.
So , I like to go with Reactive form approach instead of Template based. In our tutorial all forms will be reactive , but we can use both approach if required. I am going to create empoloyee form which will have below fields :
- Employee Id ,Employee Name, email Id,Mobile Number,Password etc.. our final output will be as below :
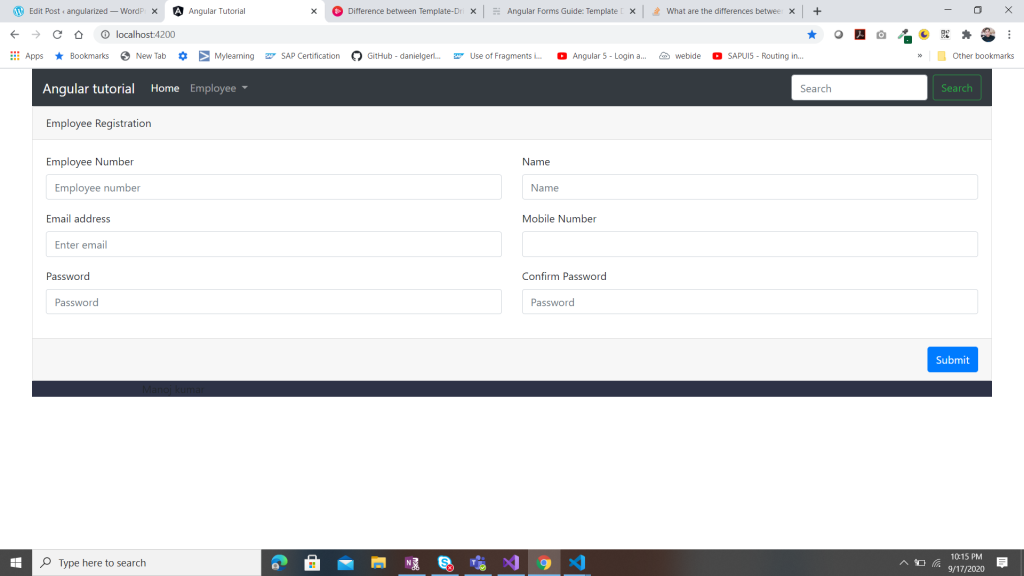
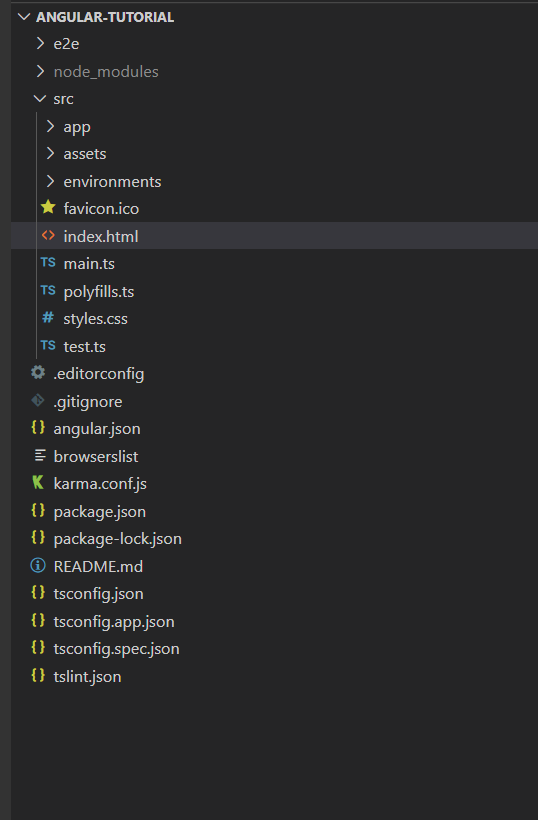
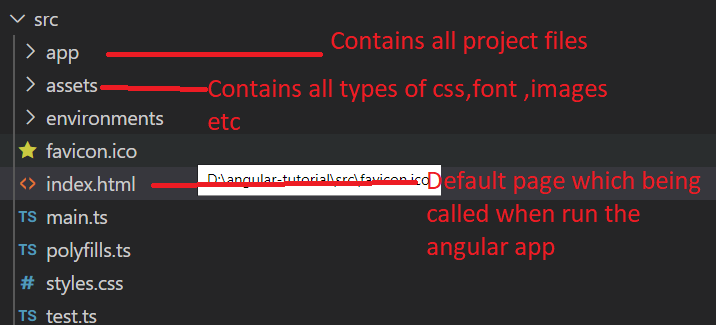
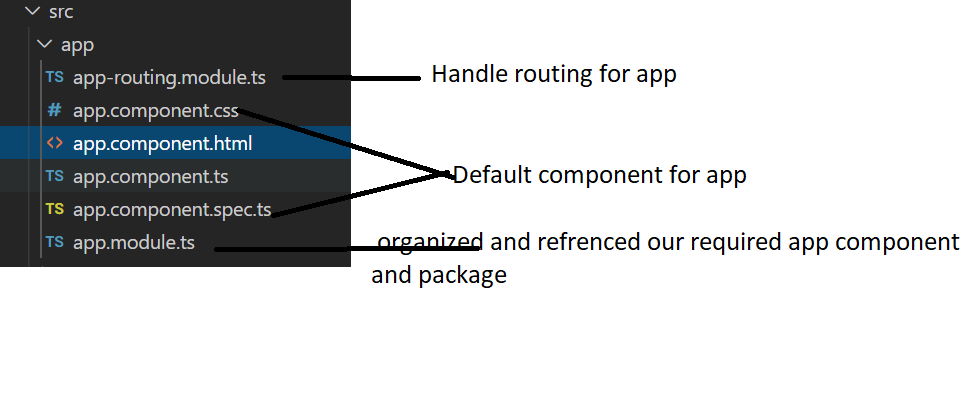
I have already generated "Employee" component . In previous lesson we know that any component have 4 files , .html, .ts,.css and .spec.ts. here we will focus only on 3 files. spec.ts will see in later tutorial. so to create form like above
-
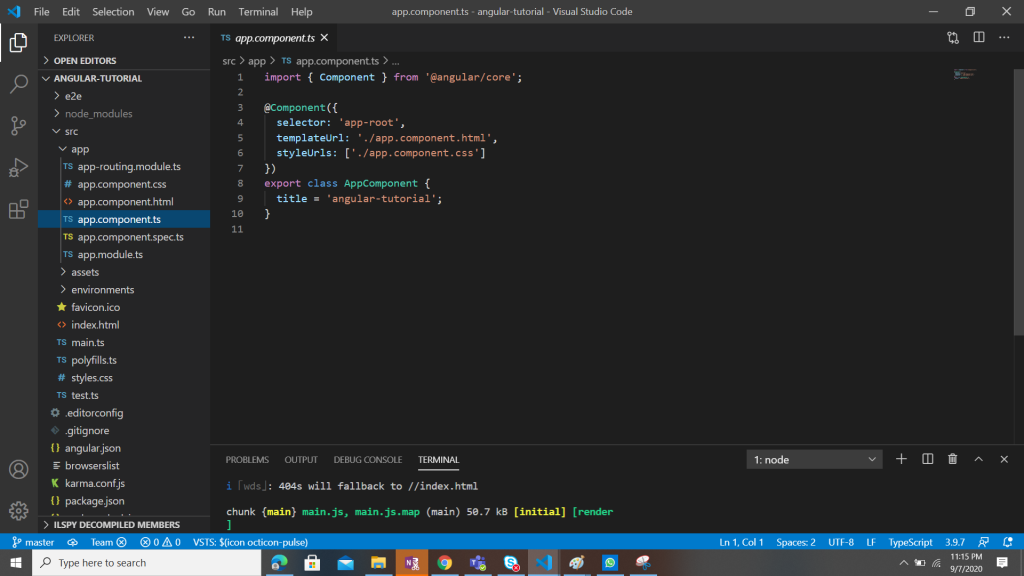
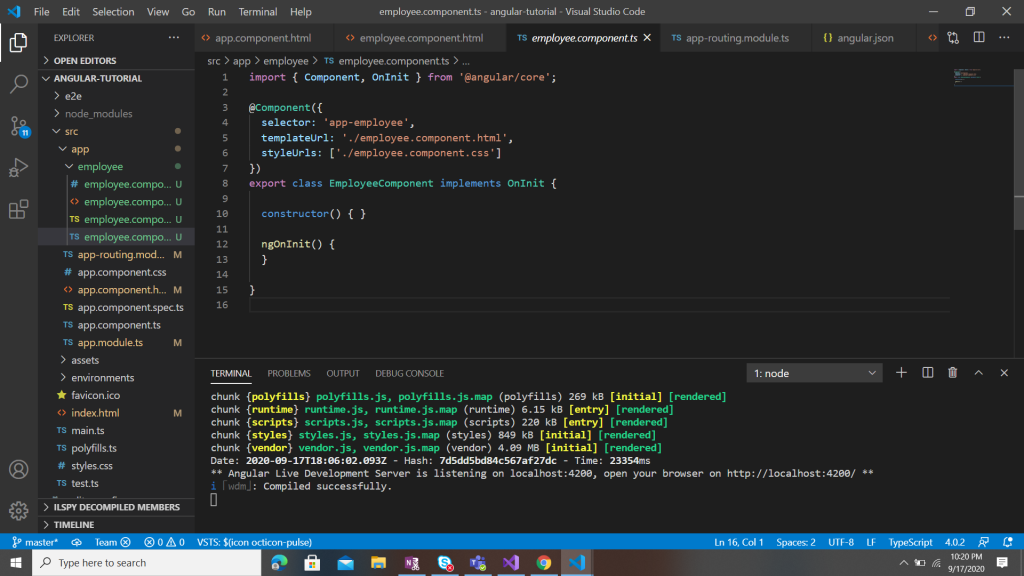
- Open employee.component.ts file , default structure of this file will look like :
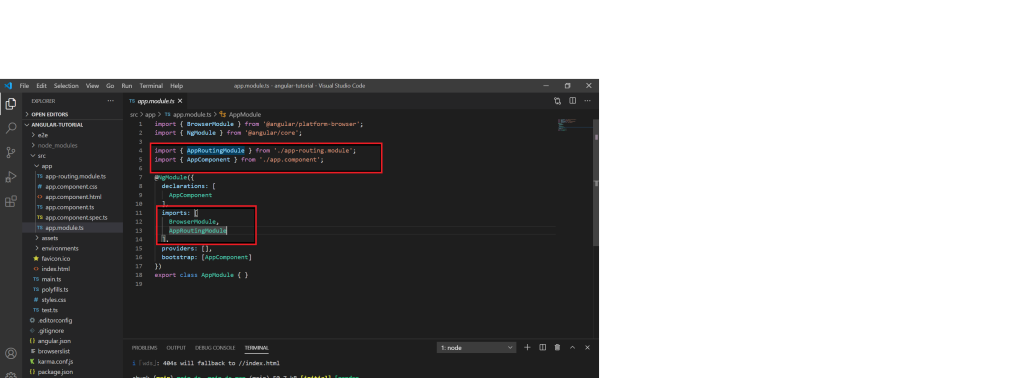
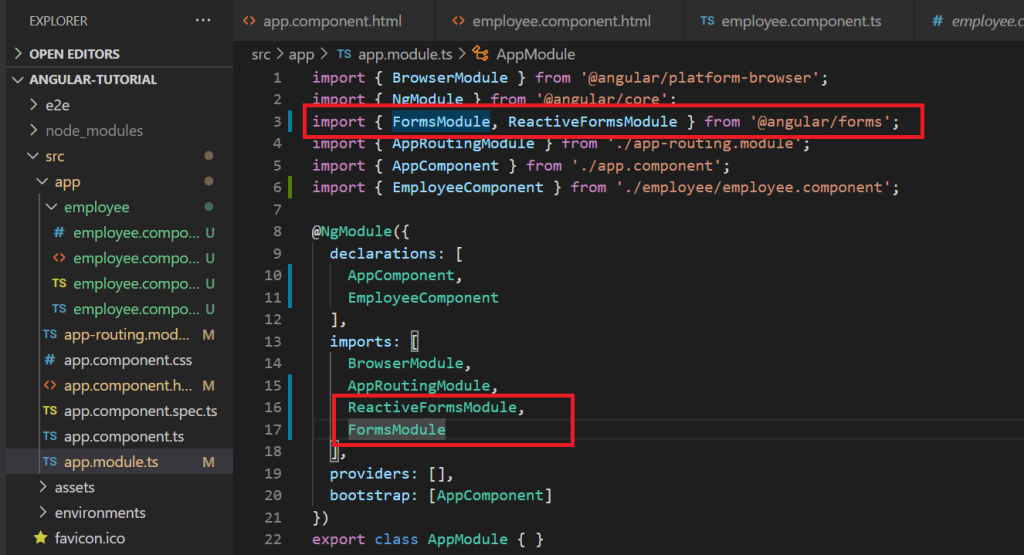
In order to enable reactive form open app.module.ts and import below import { FormsModule, ReactiveFormsModule } from '@angular/forms'; in import section add ReactiveFormsModule ,FormsModule.
In order to enable reactive form open app.module.ts and import below import { FormsModule, ReactiveFormsModule } from '@angular/forms'; in import section add ReactiveFormsModule ,FormsModule.
Now come back to employee.component.ts and add following code :
import { FormGroup, FormBuilder, Validators } from '@angular/forms';
inject dependency of formBuilder inside constructor like : constructor( private formBuilder: FormBuilder) { }
define formgroup name employeeForm like below:
employeeForm :FormGroup;
inside ngOnInit fn create form controls -
ngOnInit() { this.employeeForm = this.formBuilder.group({
employeeId: ['', Validators.required],
name: ['', Validators.required],
email: ['', Validators.required],
mobile: ['', Validators.required],
password:['', Validators.required],
confirmPassword:['', Validators.required]
});
}
so , inside ngOnInit we define our form fields ,which are basically formContolName which will be bind with control in html. and by refering this we can get or set value from controls. So now .ts file will looks like :

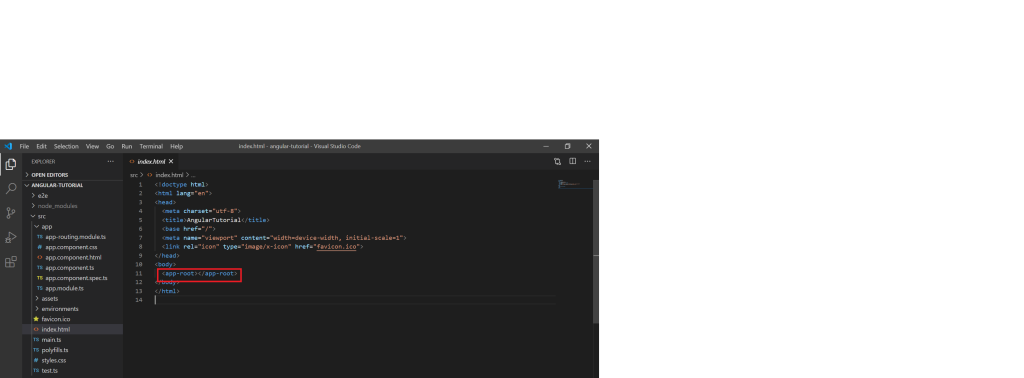
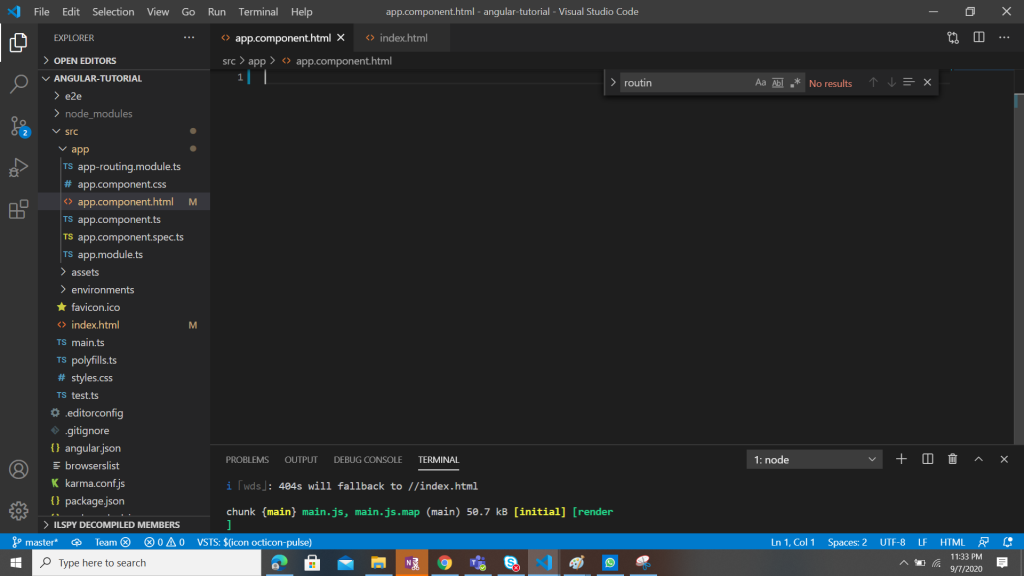
lets open .html : 1. defined formGroup for inside form tag <form [formGroup]="employeeForm",
employeeForm is the same formgroup which we have defined inside .ts file . now all formConrolName can be access and bind with control inside employeeForm : to bind control use "formControlName" directives with control. like : <input type="text" class="form-control" formControlName="employeeId" placeholder="Employee number"> .full code of our html file will be as below:
<form [formGroup]="employeeForm">
<div class="card">
<div class="card-header">
Employee Registration
</div>
<div class="card-body">
<div class="row ">
<div class="col-md-6">
<div class="form-group">
<label>Employee Number</label>
<input type="text" class="form-control" formControlName="employeeId" placeholder="Employee number">
</div>
<div class="form-group">
<label>Email address</label>
<input type="email" class="form-control" formControlName="email" aria-describedby="emailHelp"
placeholder="Enter email">
</div>
</div>
<div class="col-md-6">
<div class="form-group">
<label>Name</label>
<input type="text" class="form-control" formControlName="name" placeholder="Name">
</div>
<div class="form-group">
<label>Mobile Number</label>
<input type="number" class="form-control" formControlName="mobile">
</div>
</div>
</div>
<div class="row ">
<div class="col-md-6">
<div class="form-group">
<label>Password</label>
<input type="text" class="form-control" formControlName="password" placeholder="Password">
</div>
</div>
<div class="col-md-6">
<div class="form-group">
<label>Confirm Password</label>
<input type="text" class="form-control" formControlName="confirmPassword" placeholder="Password">
</div>
</div>
</div>
</div>
<div class="card-footer">
<button type="submit" class="btn btn-primary float-right"> Submit</button>
</div>
</div>
</form>


Thats it. in next tutorial will see how to implement validations.....